How to Do a B1 Service on Your Honda
Disclaimer:
The information provided on this website is for general informational purposes only. While I strive to ensure all information is accurate and up to date, I am not a certified mechanic. Any actions you take based on the content of this site are at your own risk. Always consult your vehicle’s manual and consider seeking advice from a certified professional for any major repairs or concerns.
Introduction
Note: This service was performed on a 2009 Honda Fit. Most Honda B1 service procedures are similar.
The B1 service reminder on your Honda usually includes an oil and filter change, tire rotation, and inspections of essential components. This DIY guide walks you through each step of the process with instructions and photos you can add along the way. Save money, learn more about your car, and keep your Honda running smoothly.
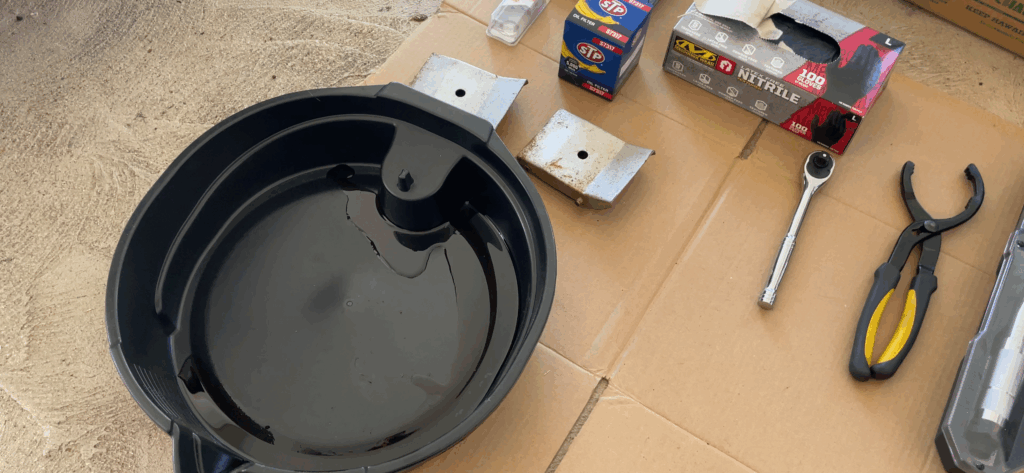
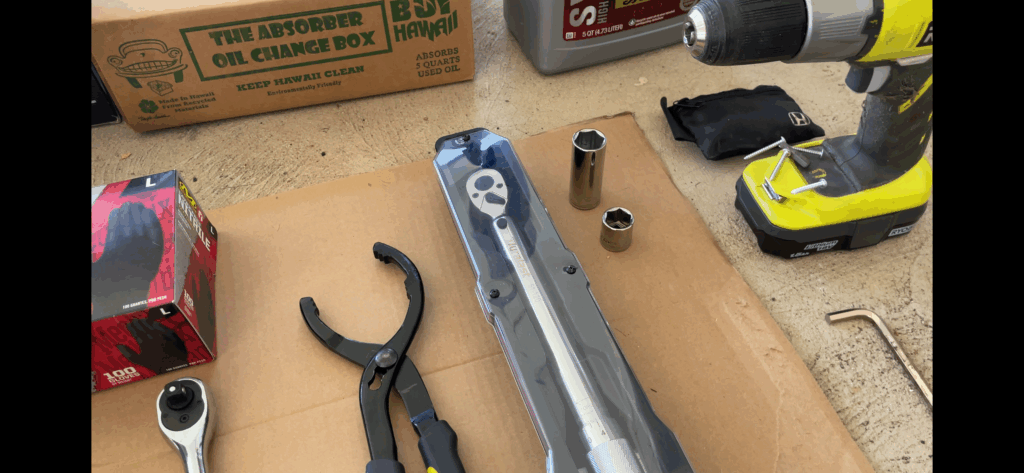
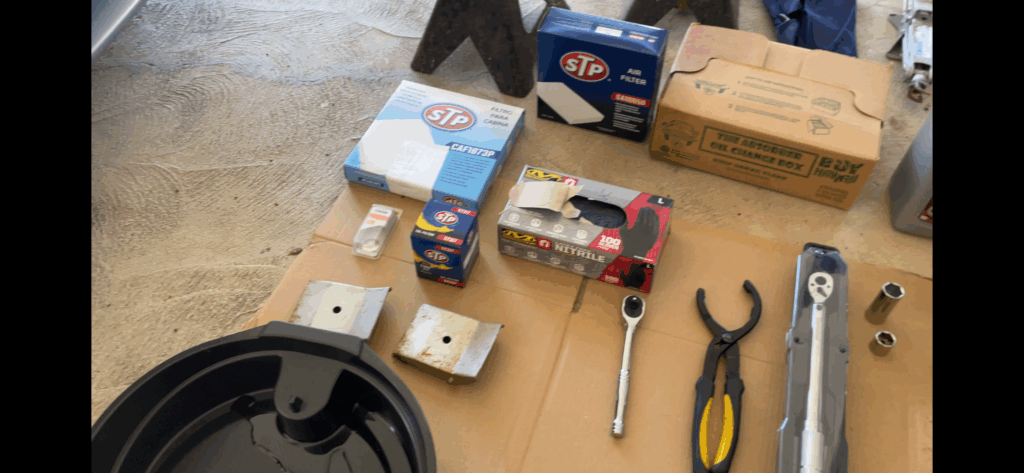
What You’ll Need
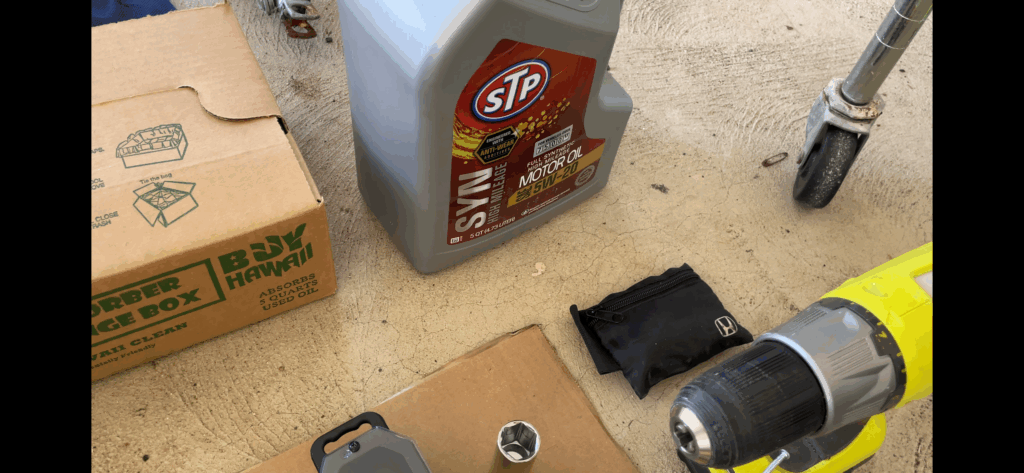
- Motor oil (check your owner’s manual for type and quantity)
- New oil filter
- New oil drain bolt washer
- Oil filter wrench
- 17mm socket wrench
- 19 mm socket or lug nut wrench included with car (Usually near spare tire or trunk area)
- Funnel
- Oil drain pan
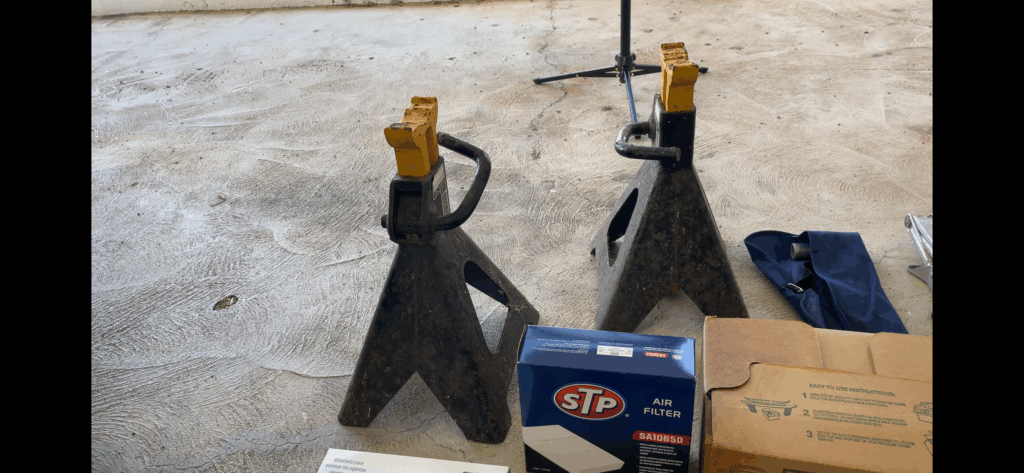
- Jack and jack stands or car ramps
- Torque wrench
- Gloves and rags/shop towels
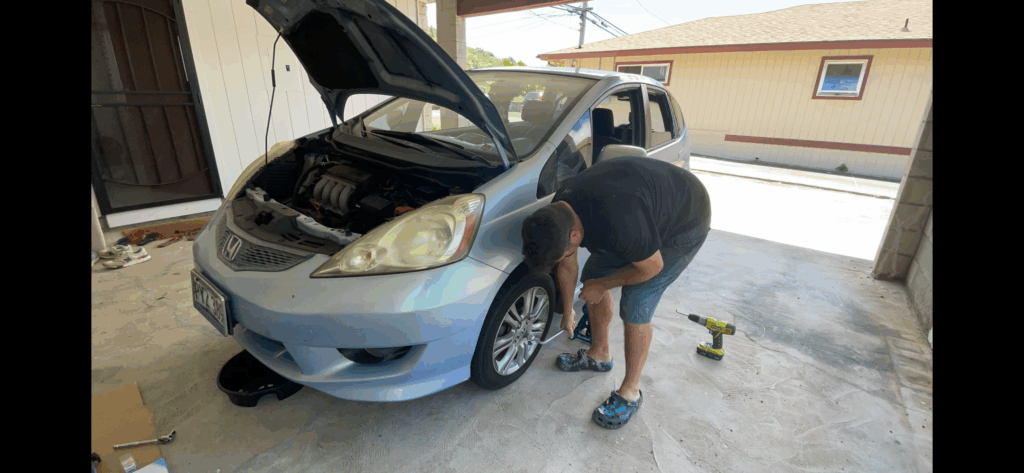
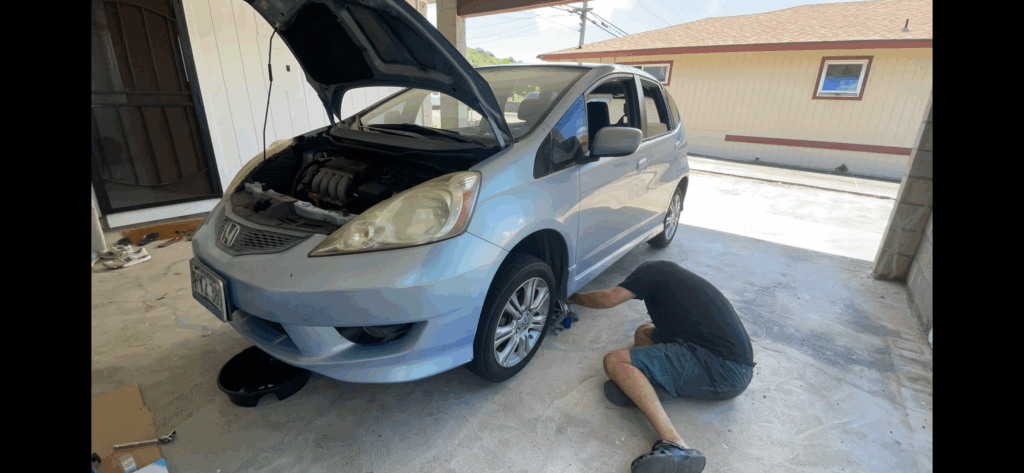
Step 1: Lift the Car Safely
- Park the car on a flat surface, engage the parking brake, and chock the rear wheels.
- If using ramps, drive up carefully and place the car in park or gear.
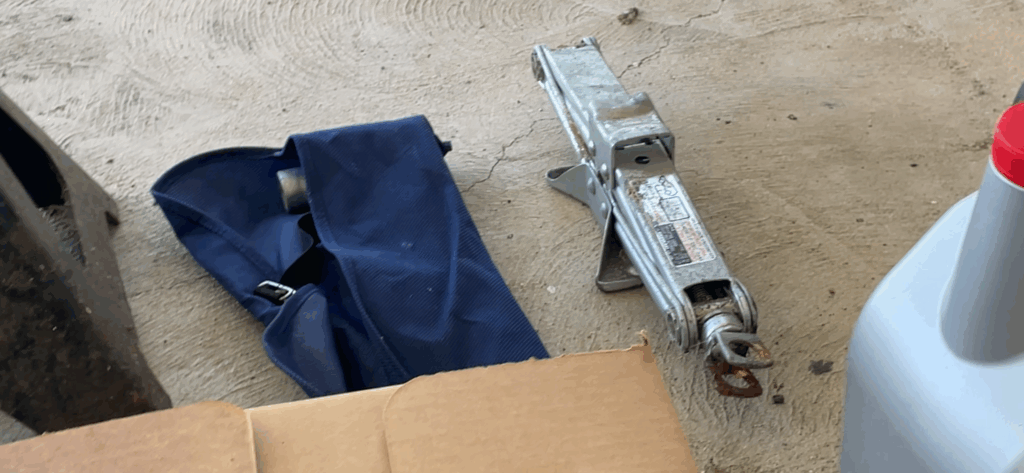
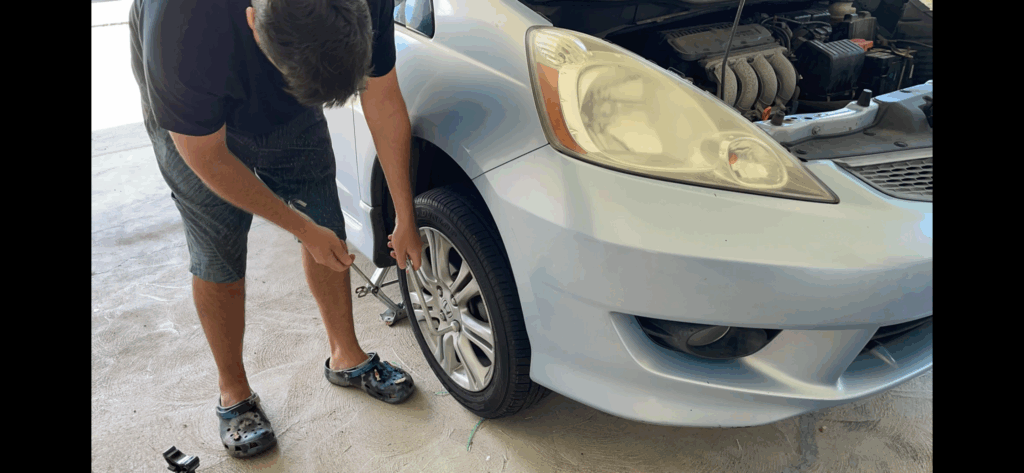
- Before elevating the car use the lug wrench (usually located in a bag near spare tire and scissor jack) to slightly loosen the lug nuts. Put the wrench head on the nuts and turn counter-clockwise. If you don’t, it will be difficult to loosen the nuts with the wheel freely spinning. If you have wheel locks, you need to find the wheel lock key. Usually it’s located in the glove box or the bag containing the lug nut wrench in the trunk/hatch.
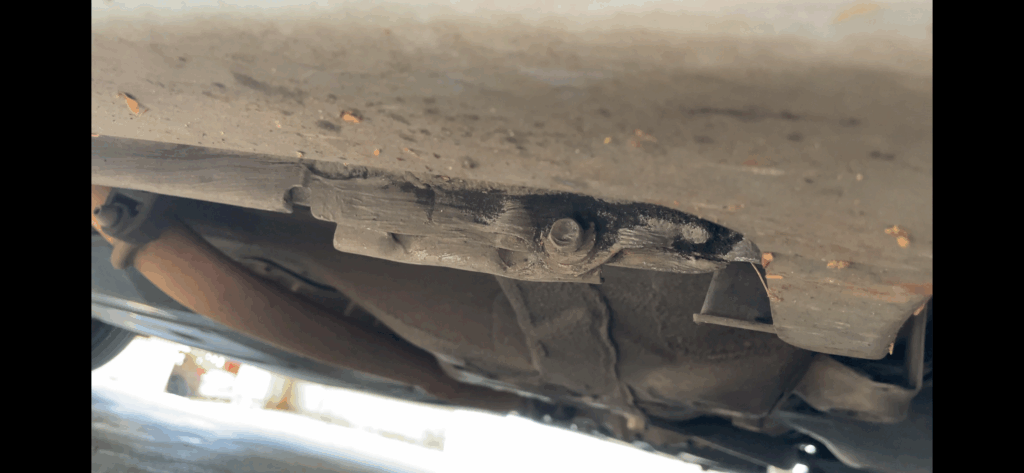
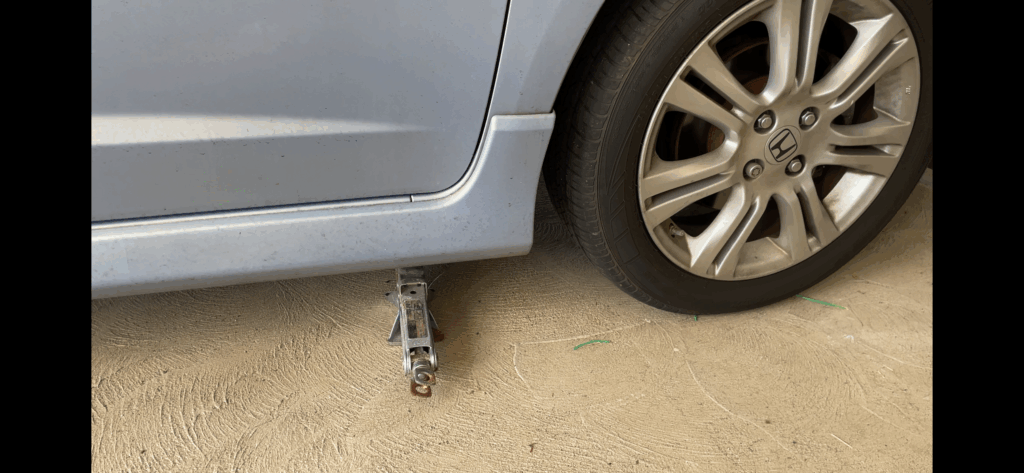
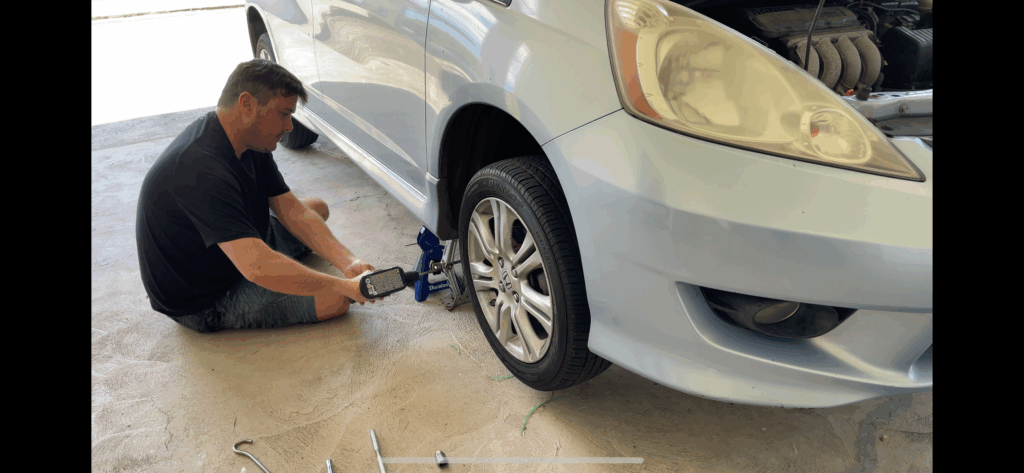
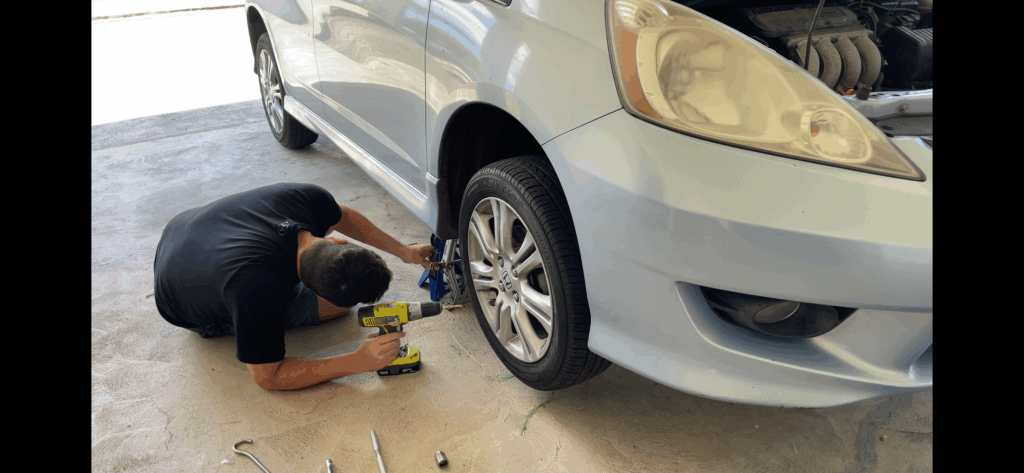
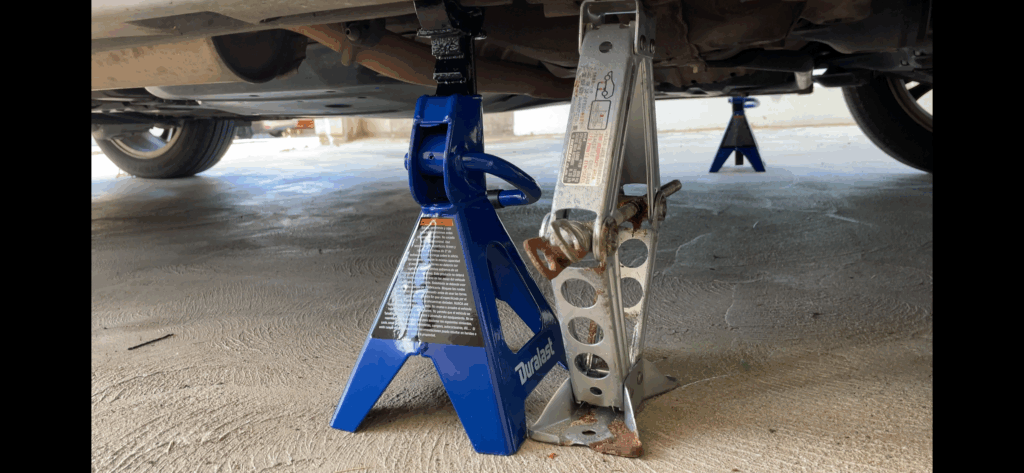
- If using a jack, lift the front of the car and support it securely with jack stands. Make sure you place your jack and/or jack stands under the reinforced area of the frame indicated in the pictures. Do not place jack or jack stands under the plastic body.
- I found the Fit to be too low for my body to get under it with just one jack and jack stand on the right side so I jacked up the right side first and placed a jack stand before doing the same on the left side. I also feel confident and safe with two jack stands under the car.
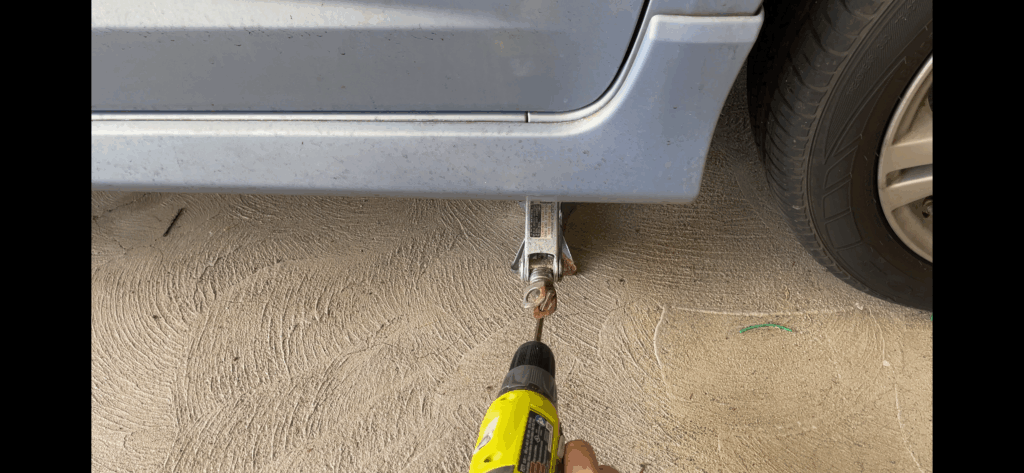
- I use a drill with an Allen wrench to speed up the scissor jack, but you can use the lug wrench connected to the jack handle to get the job done, too.
- If you do not feel confident that your car is elevated safely, DO NOT get under the car.
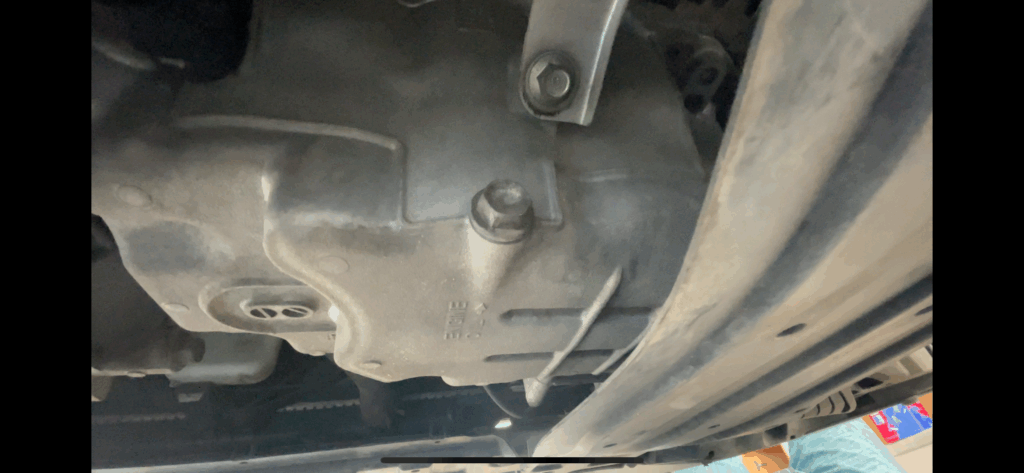
Step 2: Drain the Old Oil
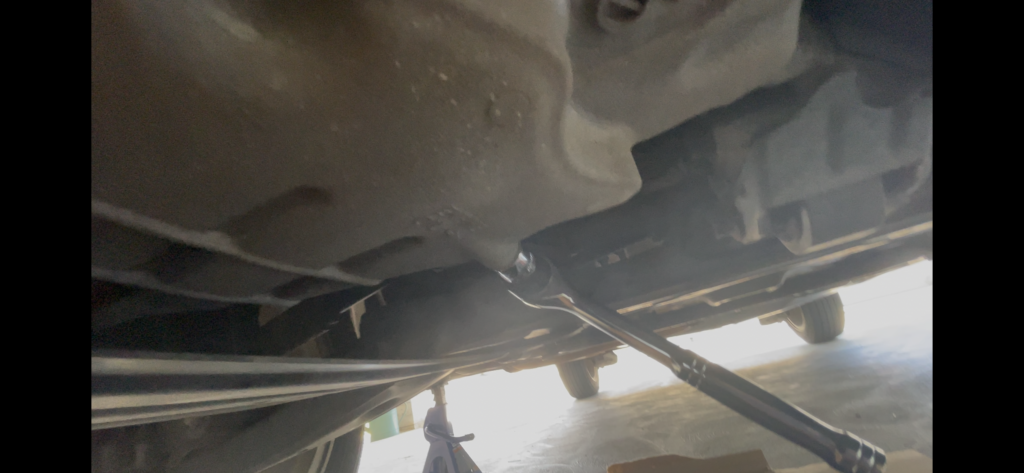
- Place the oil drain pan under the drain bolt (usually 17mm for most Hondas). The bolt is usually pretty easy to find, and mine is labeled “ENGINE OIL” with an arrow pointing toward the bolt. The oil drain bolt is usually the lowest bolt you can find.
- I recommend placing cardboard under the oil drain pan in case of spills.
- Use the socket wrench to remove the bolt carefully by turning counter-clockwise. Watch out, the oil may be hot if the car was running. Make sure you have the crush washer with the bolt. Sometimes the crush washer can stick to the engine. Throw away crush washer because this part will need to be replaced.
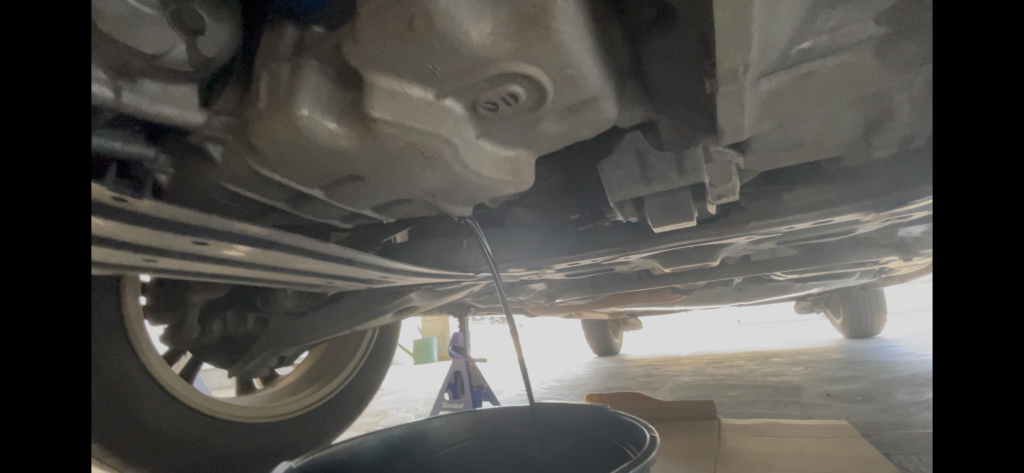
- Allow the oil to fully drain (give it a few minutes).
Step 3: Remove and Replace Oil Filter
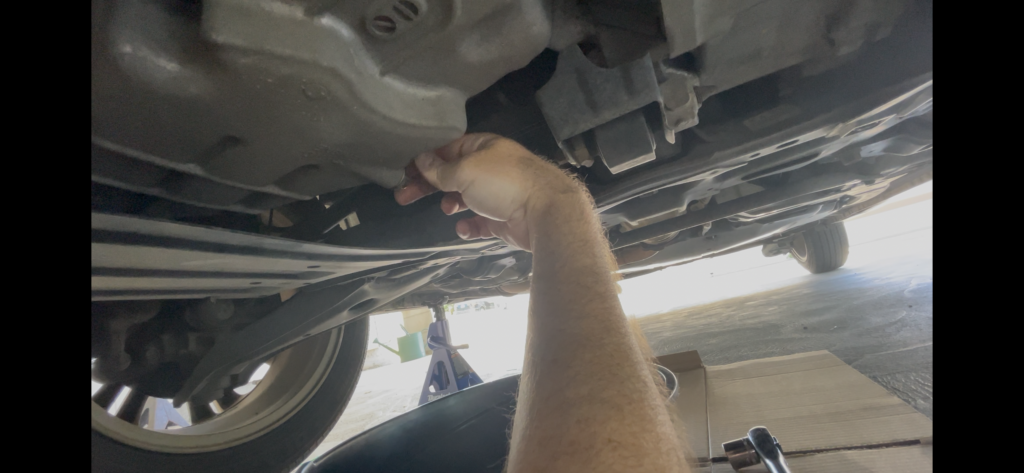
- Locate the oil filter (position varies by model).
- Place oil pan under filter.
- Sometimes oil filter will loosen by hand.
- Use the oil filter wrench to remove it if it does not loosen by hand—twist counterclockwise. Rubber strap wrenches are the best for removing oil filters, but my simple wrench modified with a rag for grip does the trick.
- Try not to drop the filter into the oil (it will splash and make a huge mess.)
- Let any remaining oil drain out.
- Apply a small amount of fresh oil to the new filter’s gasket.
- Screw on the new filter hand-tight—do not over-tighten.
📸 [Close-up of oil filter before and after removal.]
Step 4: Reinstall Drain Plug and Add New Oil
- Clean the drain bolt and reinstall it with a new washer and a torque wrench (typically around 29 ft-lb—check your manual).
- Remove the oil filler cap and use a funnel to pour in the correct amount of oil.
- Replace the filler cap.
- Start the engine and run for 30 seconds. Check for leaks.
📸 [Filling oil photo, checking oil level.]
Step 5: Check Oil Level
Note: Engine oil level check is best performed when the car is off jacks or jack stands and on level ground.
- Shut the engine off and wait a few minutes.
- Pull the dipstick, wipe it clean, reinsert it, then pull it again to check level.
- Add oil if needed to bring it to the proper mark.
📸 [Photo of dipstick, oil at correct level.]
Step 6: Rotate the Tires
- Loosen the lug nuts slightly while the car is still on the ground.
- Lift the car and place jack stands securely.
- Remove the wheels and rotate them according to this pattern:
- FWD: Front tires to rear (same side), rear tires cross to front
- RWD/AWD: Criss-cross pattern front and rear
- Reinstall wheels, hand-tighten lug nuts.
- Lower the car and torque lug nuts to spec (typically 80 ft-lb—verify).
📸 [Show tire rotation pattern and wheel off the car.]
Step 7: Inspect Fluids and Visual Checks
- Brake fluid: Top off if needed.
- Coolant: Check level and condition.
- Washer fluid: Fill up.
- Transmission fluid: (if accessible)
- Check under the car for leaks.
- Look at belts and hoses for visible wear.
📸 [Photo of opened hood, pointing to reservoirs.]
Step 8: Reset the Maintenance Light (most Hondas)
- Turn the ignition to the ON position (don’t start the car).
- Use the steering wheel buttons to select “Maintenance Info” or similar.
- Hold down the “Reset” or “Enter” button until the service reminder clears.
- If using an older model: Hold trip reset button while turning key to ON.
2009 Honda Fit Maintenance Light Reset
- Turn the ignition to the ON (II) position: This is the position just before starting the engine.
- Display the engine oil life: Press the Select/Reset knob (located on the instrument panel) repeatedly until the engine oil life percentage is shown.
- Initiate the reset: Press and hold the Select/Reset knob for about 10 seconds. The engine oil life indicator and the maintenance code(s) will start to blink.
- Confirm the reset: While the display is blinking, release and then press and hold the Select/Reset knob again for about 5 seconds. The maintenance item code(s) will disappear, and the engine oil life will reset to 100%.
📸 [Screenshot or photo of dash before and after reset.]
Final Thoughts
You just completed a full B1 service yourself! Total time: about 1.5–2 hours. It gets quicker every time. If you found this helpful, check out my recommended tools and supplies below.
[Add a few affiliate product links here. Example: “Best Oil Funnel on Amazon”]
One response to “B1 Service Tutorial”
Hi, this is a comment.
To get started with moderating, editing, and deleting comments, please visit the Comments screen in the dashboard.
Commenter avatars come from Gravatar.